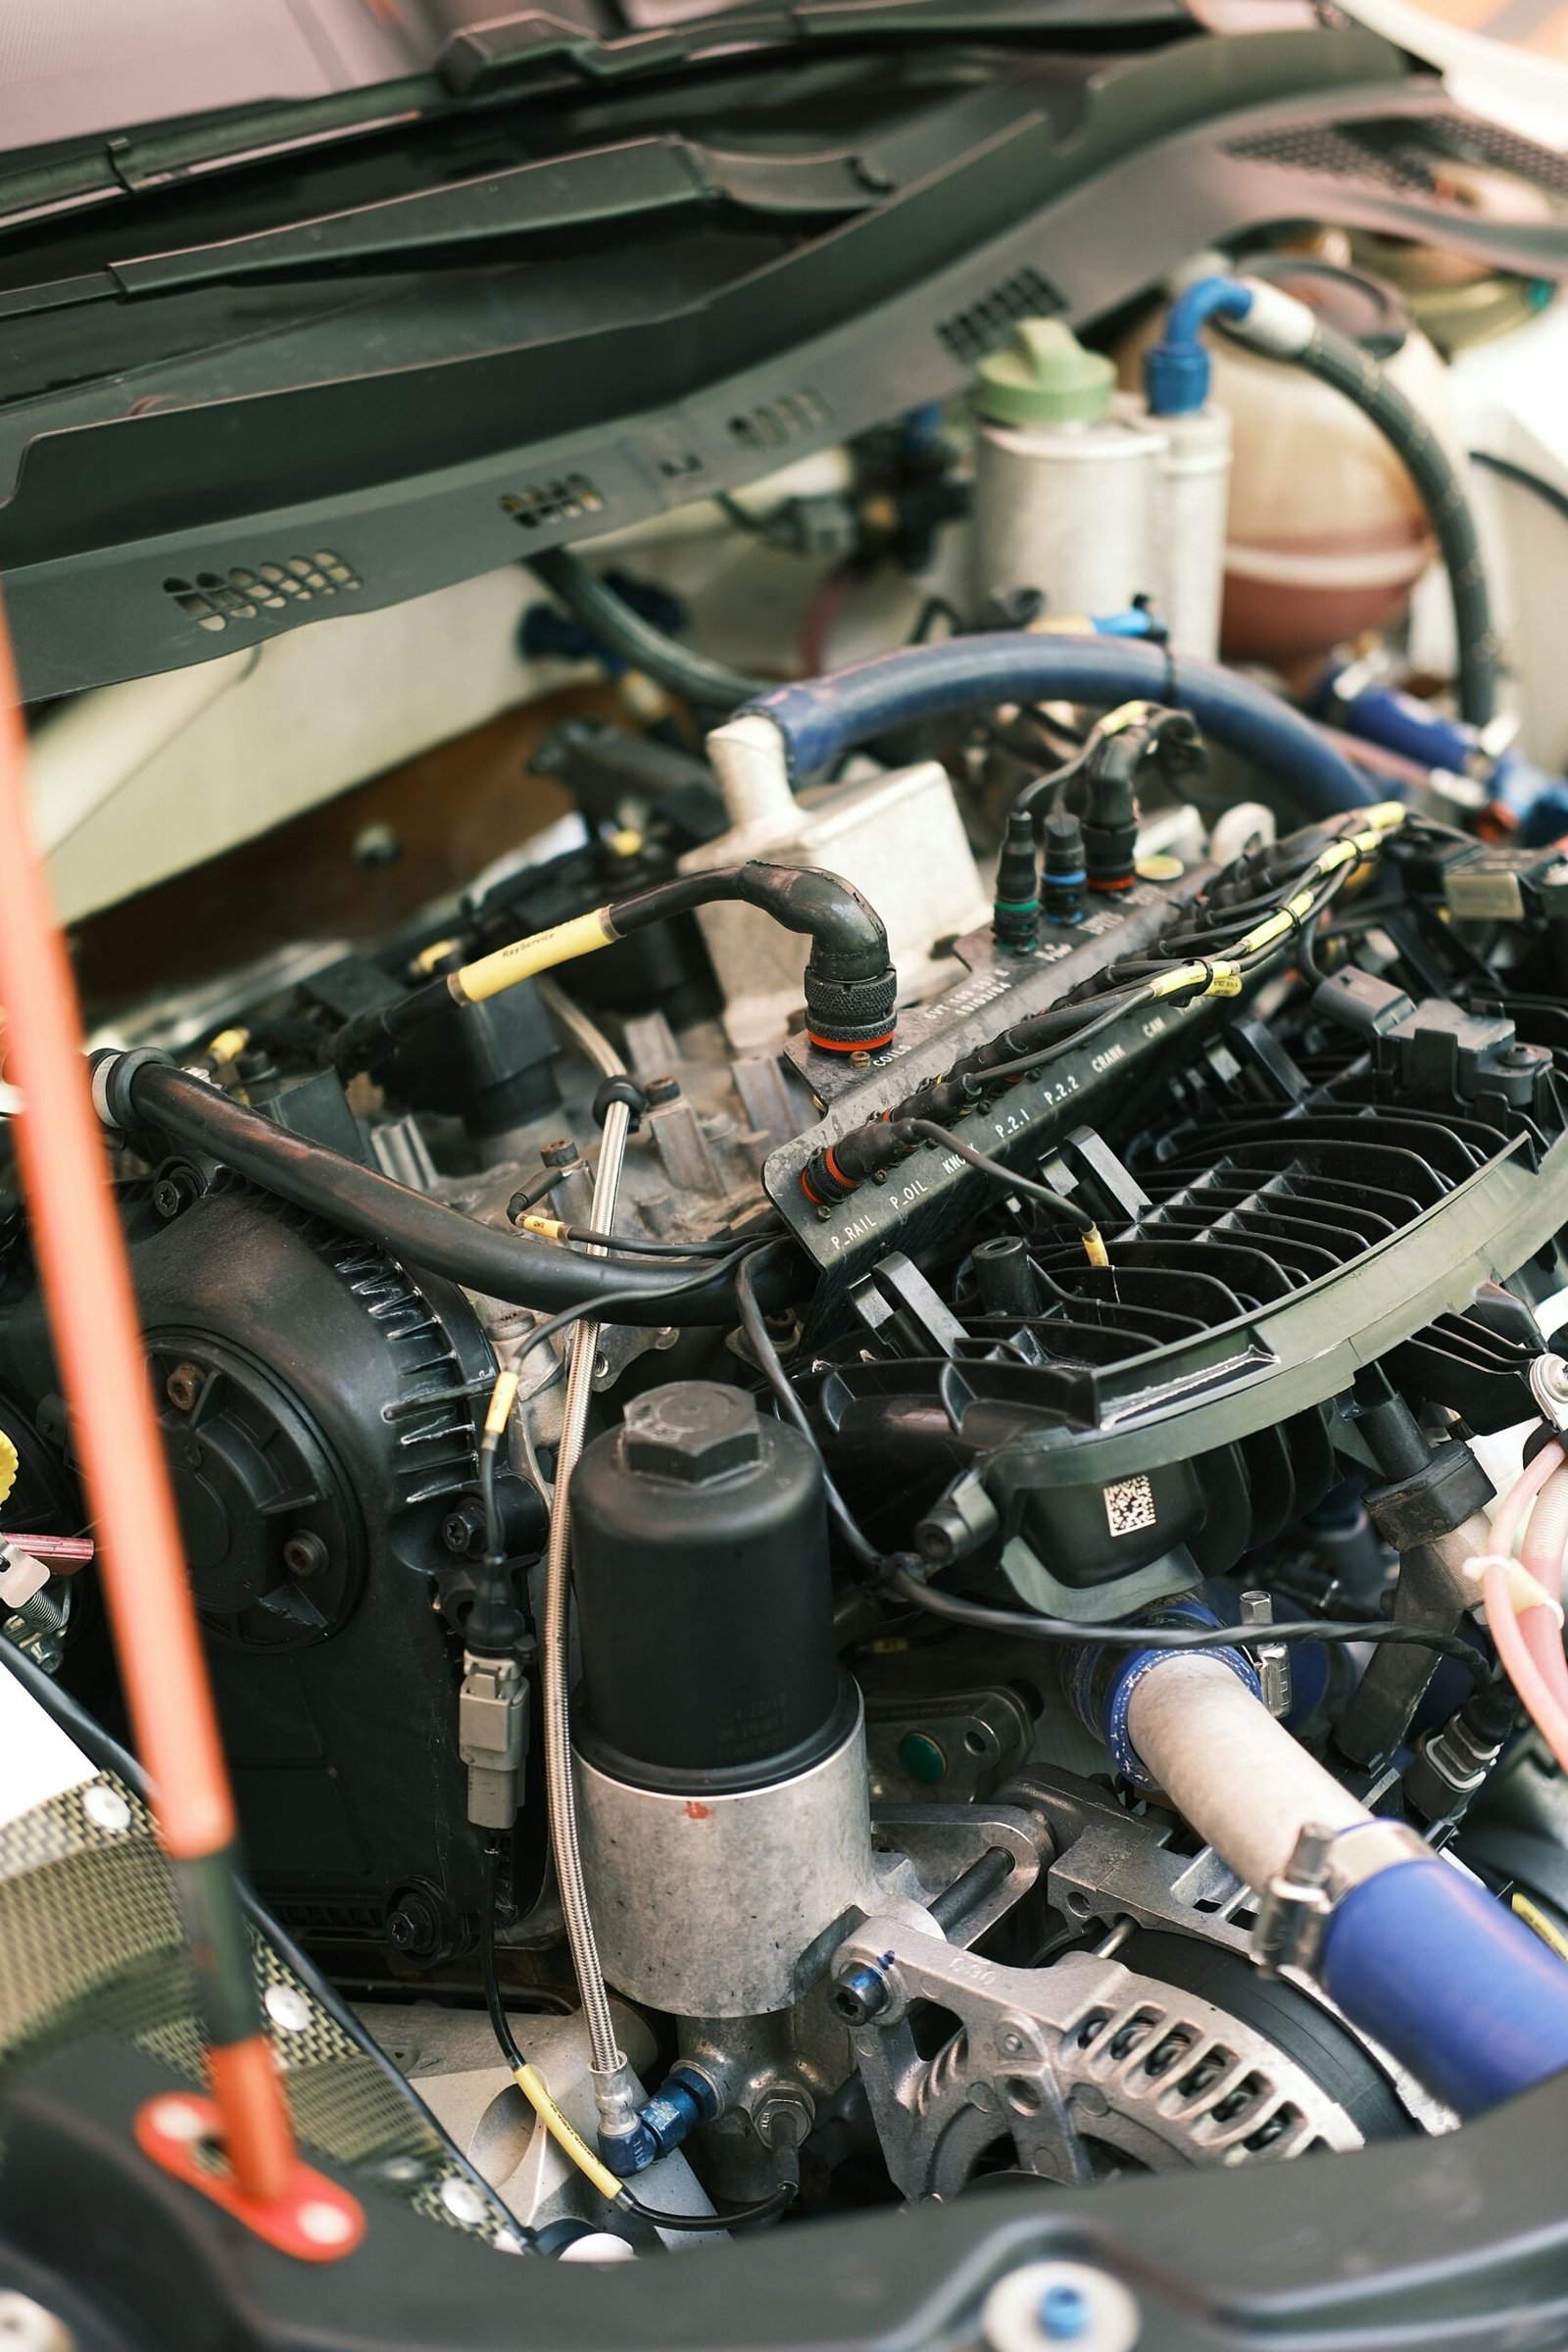
Introduction to DIY Automotive Maintenance
Routine automotive maintenance is crucial for the longevity and performance of any vehicle. Regular check-ups and preventive measures can significantly reduce the risk of unexpected repairs, improve fuel efficiency, and ultimately save car owners a considerable amount of money over time. By investing in basic maintenance practices, vehicle owners can ensure their cars operate smoothly and safely.
DIY automotive maintenance tasks not only help in addressing minor issues promptly but also empower individuals to take control of their vehicle’s upkeep. Many drivers may feel overwhelmed by the complexities of car care; however, developing basic maintenance skills can be achievable for most. Common tasks, such as changing the oil, replacing air filters, and checking tire pressure, are straightforward and can make a notable difference in the vehicle’s overall condition. Engaging in DIY maintenance fosters a more profound understanding of how cars function, which can aid in diagnosing problems before they escalate into more significant repairs.
Moreover, taking on these tasks can be a rewarding experience, as it builds confidence and instills a sense of accomplishment. Car owners often discover that they can perform several simple maintenance activities themselves, leading to further savings on labor costs at repair shops. Additionally, DIY maintenance cultivates a routine that encourages more frequent inspections of vehicle health, ultimately resulting in better performance and fewer instances of roadside emergencies.
In light of these benefits, embracing DIY automotive maintenance is a practical approach for every car owner. It not only promotes self-sufficiency but also leads to a longer vehicle lifespan, providing peace of mind for those behind the wheel. By adopting these fundamental skills, car owners can enhance their driving experience while minimizing future expenses related to automotive care.
Checking and Changing Engine Oil
Maintaining clean engine oil is crucial for the longevity and performance of your vehicle’s engine. Regularly checking and changing your engine oil ensures optimal lubrication, reducing wear and tear on engine components. To perform this essential maintenance task, you will need a few tools, including an oil filter wrench, a socket wrench, a funnel, and a drain pan.
To begin, it is advisable to check your oil level at least once a month, or every time you fill up the tank. Park your car on a level surface and wait until the engine is cool. Open the hood and locate the dipstick, which is typically marked with a bright color. Pull out the dipstick, wipe it clean, and reinsert it. Remove it again to check the oil level. If it is below the minimum mark, it’s time to add more oil. Ensure you use the recommended oil type as specified in your owner’s manual.
When it comes to changing engine oil, most vehicles require an oil change every 5,000 to 7,500 miles. However, this frequency can vary based on the vehicle and type of oil used. Start by placing the drain pan under the oil pan and unscrewing the drain plug. Allow the old oil to fully drain out. Next, replace the drain plug, tighten it securely, and use the oil filter wrench to remove the old oil filter. Install the new oil filter and add fresh oil using a funnel, checking the level with the dipstick to ensure it is within the acceptable range.
Finally, proper disposal of used oil is essential for environmental protection. Most auto parts stores or recycling centers accept used oil for recycling. Never dispose of it in the trash or pour it down the drain. By following these steps, car owners can ensure their vehicle runs smoothly and efficiently.
Replacing Air Filters
Maintaining clean air filters is crucial for optimal engine performance and fuel efficiency. Air filters serve the essential purpose of preventing dust, dirt, and debris from entering the engine, which can lead to diminished performance and increased fuel consumption. Regularly replacing the air filter can improve airflow, enhancing combustion efficiency, and thus contributing to better engine health. Ideally, air filters should be inspected every 12,000 to 15,000 miles, or as specified in your vehicle’s owner manual.
Locating your vehicle’s air filter is the first step in the replacement process. This component is generally housed within the engine compartment, often positioned near the engine or attached to the intake manifold. For precise location details, referring to the vehicle’s manual can be beneficial, as designs vary across different models and manufacturers.
To remove the old air filter, first ensure the engine is turned off and cool. Begin by unclipping or unscrewing the cover that protects the air filter. After removing the cover, carefully take out the existing air filter. Note how the filter is positioned, as the new one must be installed in the same direction for effective operation. Pay attention to any built-up dirt or debris in the housing, and clean it gently using a damp cloth.
When selecting an air filter, it’s important to opt for a product that is specifically designed for your vehicle make and model. While genuine parts often provide the best fit, reputable aftermarket brands can also deliver satisfactory performance. Consult reviews or guides to ensure compatibility. Finally, insert the new air filter securely, replace the cover, and reattach any clips or screws. This process not only helps in maintaining performance but also promotes fuel efficiency, ultimately benefiting the owner’s budget.
Inspecting and Replacing Wiper Blades
Windshield wiper blades play a crucial role in maintaining visibility while driving, particularly in inclement weather. Regular inspection of these components is essential for ensuring safety on the road. Over time, wiper blades can wear out due to exposure to sunlight, heat, and moisture, leading to reduced effectiveness and potentially obstructed views. To inspect your wiper blades, begin by examining the rubber for cracks, tears, or any hard spots. If the blades are not making full contact with the windshield or if they leave streaks while in operation, it may be time for a replacement.
Replacing worn wiper blades is a straightforward task that requires minimal tools and can be accomplished in just a few steps. First, ensure your vehicle is turned off and the wipers are in the upright position. Most wiper systems have a release tab on the underside of the blade arm. Press this tab to detach the old wiper blade from the arm. If your wiper model does not have a visible tab, consult your vehicle’s manual for specific instructions. Once the old blade is removed, match the new wiper blade with the size and type needed for your vehicle, which can typically be found on the packaging or in your manual.
To install the new wiper blade, align it with the wiper arm and push it into place until you hear a click, signifying it is secured. It is advisable to test the new blades by activating the wiper system to ensure they function correctly. Regular maintenance of wiper blades not only enhances driving visibility but also promotes safer driving experiences overall. Be sure to replace your wiper blades at least once a year or sooner if you notice a decline in performance, particularly before the winter season or during heavy rain periods.
Checking Tire Pressure and Tread Depth
Maintaining proper tire pressure and tread depth is crucial for vehicle safety and fuel efficiency. Under-inflated tires can lead to decreased fuel economy, while over-inflated tires can increase the risk of a blowout. To ensure optimal performance, it is essential to regularly check your tire pressure using a tire pressure gauge. This simple tool allows you to measure your tire’s current inflation level accurately.
To begin, locate the recommended tire pressure for your vehicle, which is often found in the owner’s manual or on a sticker inside the driver’s door. Remove the valve cap from one tire and firmly attach the tire pressure gauge to the valve stem. Press the gauge firmly until you hear a hissing sound, which indicates that air is escaping. After a moment, the gauge will display a reading. Compare this number with the recommended pressure. If your tire is under-inflated, add air until it reaches the correct level. Conversely, if it is over-inflated, release some air until the desired pressure is achieved. Repeat this process for all tires, including the spare.
In addition to pressure, checking tread depth is equally important for ensuring safe driving conditions. The tread on your tires provides traction and prevents hydroplaning on wet roads. To measure tread depth, you can use a tread depth tool or the classic penny method. For the penny method, insert a penny into the tread with Lincoln’s head facing down. If you can see the top of his head, the tread is worn and the tires should be replaced. It is recommended to conduct these checks once a month and before long trips to enhance safety and improve the vehicle’s fuel efficiency.
Replacing Cabin Air Filters
The cabin air filter plays a crucial role in ensuring air quality within the vehicle. This component filters out dust, pollen, and other pollutants, allowing for a cleaner environment inside the car. Over time, cabin air filters can become clogged, leading to decreased airflow and reduced effectiveness. Regularly checking and replacing the cabin air filter is essential not only for air quality but also for the comfort of everyone in the vehicle.
To begin the replacement process, it is important to know how often you should check the cabin air filter. A good rule of thumb is to inspect it every 15,000 to 30,000 miles, or at least once a year. Common signs that indicate your cabin air filter may need changing include reduced airflow from the HVAC system, unpleasant odors emanating from the vents, and visible dirt or debris on the filter itself. If you notice any of these signs, it is time to take action.
To replace the cabin air filter, start by locating the filter housing. This is typically found behind the glove compartment or under the dashboard. Consult your vehicle’s owner manual for specific instructions on where to find it and how to access the filter. Once you have located the housing, gently remove the old filter, taking note of its orientation. Insert the new filter in the same direction as the old one was positioned, ensuring it is seated properly. After that, reassemble any components you removed to access the filter.
By regularly checking and replacing your cabin air filter, you can significantly improve the air quality inside your vehicle. This simple maintenance task not only enhances your driving experience but also ensures a healthier environment for both the driver and passengers.
Checking and Adding Coolant
The cooling system plays a crucial role in maintaining an optimal operating temperature for the engine, preventing overheating, and ensuring the overall efficiency of a vehicle. One of the key components of this system is the coolant, which circulates through the engine to absorb heat and dissipate it through the radiator. Regularly checking and adding coolant is essential for every car owner to avoid engine damage and maintain vehicle performance.
To check the coolant level, start by ensuring that the engine is cool to prevent burns from hot components or fluids. Locate the coolant reservoir, which is typically a translucent plastic tank found near the radiator. The reservoir will have minimum and maximum markings on the side. Inspect the fluid level; if it is below the minimum line, it is necessary to add more coolant. It is also advisable to check the condition of the coolant. If it appears rusty or has debris, it may need to be replaced entirely.
When adding coolant, select the correct type—generally specified in the owner’s manual—and mix it with water according to the manufacturer’s recommendations if necessary. Open the reservoir cap slowly to release any built-up pressure. Pour the coolant into the reservoir until it reaches the proper level, ensuring no air bubbles are introduced into the system. Replace the cap securely to avoid leakage.
Monitoring the coolant system is vital for long-term vehicle maintenance. Check the levels regularly, especially before long trips or during seasonal changes when temperatures fluctuate. Additionally, pay attention to any signs of coolant leaks, such as puddles under the vehicle or unexplained drops in the coolant level. Maintaining optimal coolant levels not only aids the cooling system but also prolongs the life of your engine.
Inspecting and Replacing Brake Pads
One of the most critical components of automobile maintenance is ensuring that brake pads are in optimal condition. Brake pads are essential for safety, as they play a crucial role in the vehicle’s braking system. Neglecting the maintenance of brake pads can lead to severe consequences, including compromised safety and increased repair costs. Therefore, understanding how to inspect and replace brake pads is vital for any car owner.
To begin with, a routine inspection of brake pads should be conducted to assess their wear and tear. This can be done by visually inspecting the pads through the wheel spokes. Generally, brake pads should have a thickness of at least 1/4 inch. If the pads appear significantly thinner, it is essential to consider replacement. Additionally, if there are any unusual noises, such as squealing or grinding sounds, this could indicate that the pads are worn out and need immediate attention.
When replacing brake pads, safety should be the foremost priority. First, ensure the vehicle is parked on a flat surface and the wheels are chocked. Using a jack, raise the appropriate side of the vehicle, and remove the wheel to access the brake assembly. It is advisable to consult the vehicle’s manual for specific instructions related to brake pad replacement, as procedures may differ among different models. Carefully remove the old brake pads and replace them with new, high-quality pads to enhance braking performance and safety.
After installation, it is crucial to pump the brake pedal a few times to seat the new pads properly against the rotor. This step will not only ensure that the brake system is functioning effectively but also helps to avoid any potential issues during driving. Monitoring the condition of brake pads regularly and addressing any signs of wear promptly can significantly contribute to vehicle safety and overall brake performance.
Final Tips for Successful DIY Maintenance
Engaging in DIY automotive maintenance can be rewarding and cost-effective, but it is essential to undertake these tasks carefully to ensure safety and efficacy. First and foremost, always prioritize safety. Before beginning any maintenance activity, make sure you are wearing appropriate protective gear, including gloves and safety glasses. This protective equipment can help safeguard against potential injuries from sharp edges, hot components, or chemical exposures. Additionally, operating in a well-ventilated area is crucial, especially when dealing with fuel or engine fluids to avoid inhaling fumes.
Secondly, the quality of the parts you use directly impacts the longevity and performance of your vehicle. When sourcing components, always opt for reputable brands and ensure that parts are compatible with your specific vehicle model. Using substandard parts may lead to premature wear or even unsafe driving conditions. Furthermore, considering OEM (Original Equipment Manufacturer) parts can be an effective way to ensure quality and compatibility.
Equipping yourself with the right tools is another vital aspect of successful DIY automotive maintenance. Basic tools such as wrenches, screwdrivers, jacks, and oil filters, should be part of your toolkit. Supplementing this with specialized tools like a torque wrench, OBD-II scanner, and fluid extraction tools can significantly simplify various maintenance tasks. Additionally, there are many online resources available, including instructional videos, forums, and guidebooks, which can provide helpful information and troubleshooting tips tailored to your vehicle’s make and model.
Lastly, patience and thoroughness are key to successful DIY automotive repair. Rushing through tasks can lead to mistakes that might cost more time and money in the long run. By taking your time, double-checking your work, and seeking expertise when necessary, you can accomplish your automotive maintenance tasks effectively. Following these tips can result in enhanced car performance and a more enjoyable ownership experience. In conclusion, with the right precautions, quality parts, and proper tools, any car owner can successfully engage in DIY maintenance.