Introduction to Oil Changes
Regular oil changes are a fundamental aspect of vehicle maintenance that significantly impact the longevity and performance of your new car. Oil plays a crucial role in lubricating engine components, which reduces friction and heat generation during operation. This vital fluid not only protects the engine from wear but also helps to keep it cool, ensuring optimal performance. Over time, oil degrades and can become contaminated, leading to reduced efficiency and potential engine damage. Therefore, adhering to a consistent oil change schedule can prevent costly repairs down the line.
For new cars, the manufacturer’s recommendations regarding oil change intervals are typically specified in the owner’s manual. It is important to follow these guidelines to achieve the best results in vehicle performance. Many modern vehicles require synthetic oil, which offers superior protection and tends to last longer than conventional oil. Synthetic oils are specifically designed to withstand higher temperatures and resist breakdown, making them a preferred choice for many owners. Utilizing the correct oil type not only enhances engine performance but also contributes to fuel efficiency.
Furthermore, maintaining proper oil levels is essential for engine health. Insufficient oil can lead to inadequate lubrication, resulting in excessive wear and tear on engine components. Regularly checking the oil level and topping it up as necessary is a simple yet effective way to ensure your engine remains well-protected. Engaging in regular oil changes, using the right oil, and monitoring oil levels will not only extend the life of your new car but also enhance its overall performance, providing you with peace of mind as you navigate the roads.
Gathering Necessary Tools and Materials
Before embarking on the essential task of changing the oil in your new car at home, it is imperative to gather the necessary tools and materials to ensure a smooth process. This preparation will not only enhance the efficiency of the task but also contribute to a successful oil change experience.
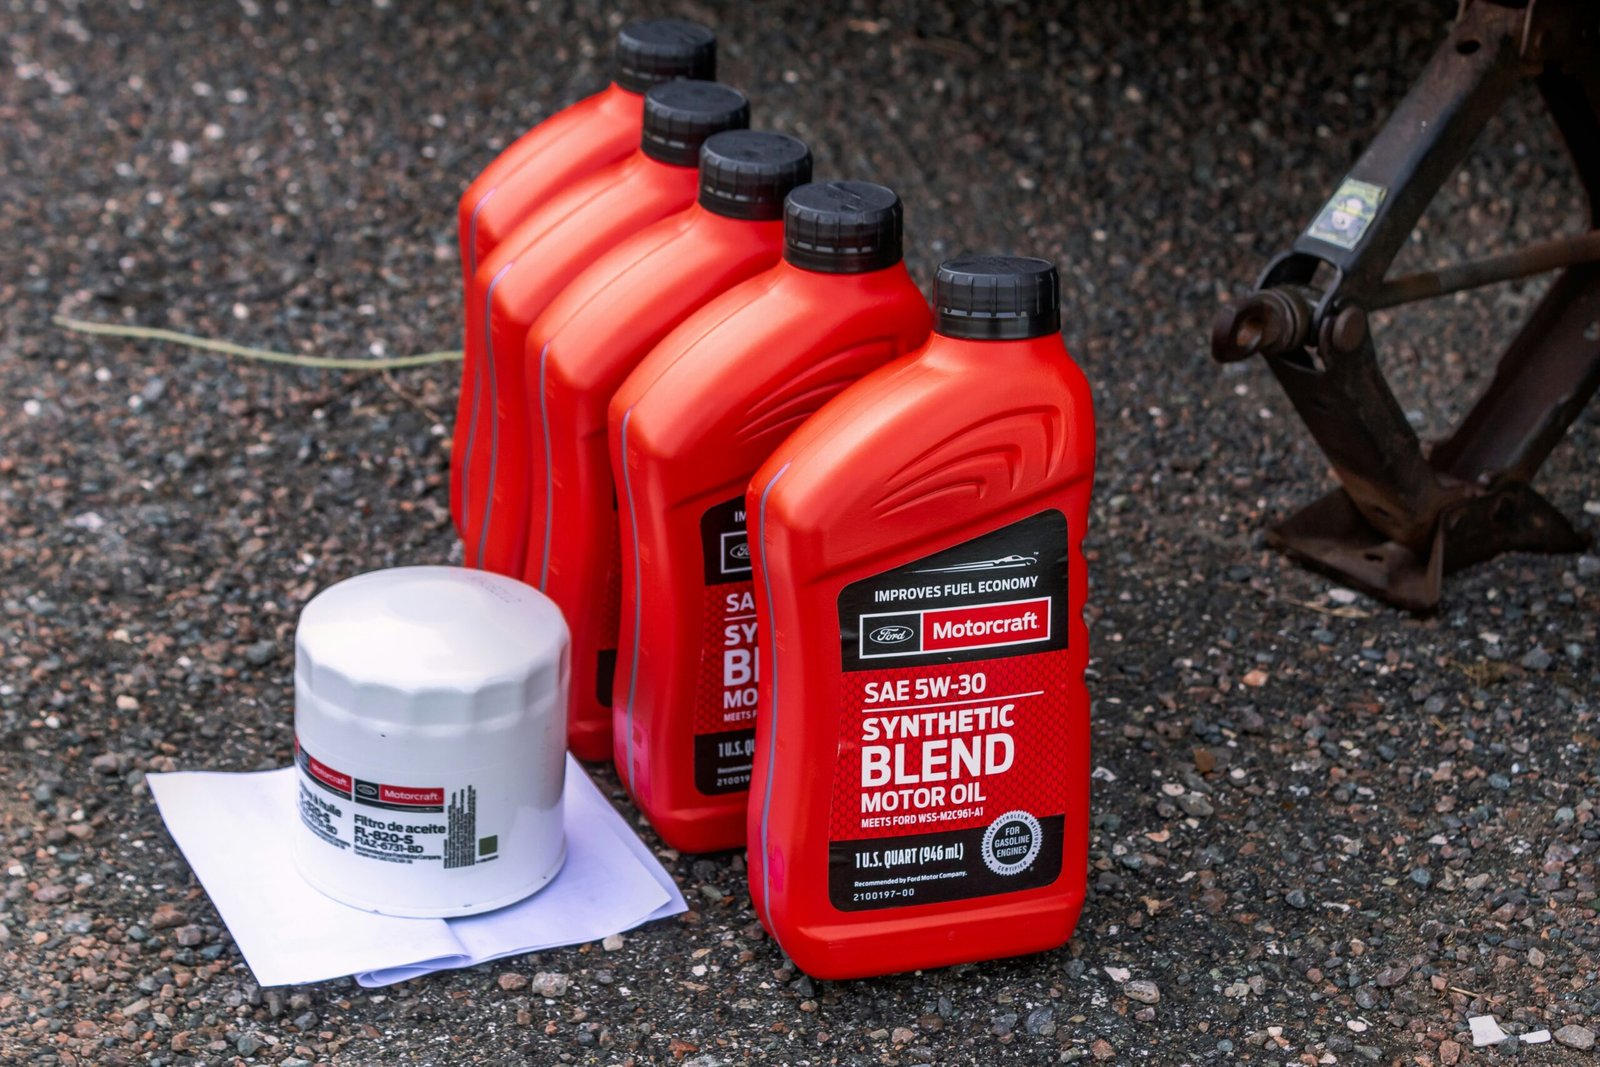
First and foremost, you will need the correct type and amount of engine oil specified in your car’s owner manual. Engine oil is crucial for lubricating the engine components and maintaining optimal performance. Different vehicles typically use varying types of oil such as synthetic, conventional, or a blend. Be sure to check your owner’s manual to determine the appropriate viscosity grade, usually represented by numbers such as 5W-30.
Next, an oil filter is vital to replace during each oil change. The oil filter plays an essential role in filtering contaminants from the engine oil, ensuring that only clean oil circulates. Ensure that the oil filter is compatible with your car make and model by checking the original equipment manufacturer (OEM) specifications.
In addition to oil and an oil filter, an oil catch pan is necessary to collect the old oil as it drains from the vehicle. This prevents any spills or messes and allows for responsible disposal. When pouring the new oil into the engine, using a funnel helps to eliminate spills and makes the process significantly easier.
Finally, a wrench set will be required to remove the oil drain plug and the oil filter. It is paramount to use the appropriate size to avoid damaging the components. Other helpful items include a pair of gloves to protect your hands, rags or towels for clean-up, and potentially a jack and jack stands for proper vehicle elevation. With all these tools at your disposal, you will be fully equipped to perform an oil change at home effectively.
Choosing the Right Oil for Your Car
Choosing the appropriate oil for your new car is a crucial step in ensuring its longevity and optimal performance. The first place to consult is the owner’s manual that accompanies your vehicle. This document provides detailed information on the recommended oil type, weight, and specifications crucial for your engine’s operation. Ignoring these specifications may lead to suboptimal engine performance and can even void your warranty.
When examining oil types, it’s essential to understand viscosity ratings, such as 5W-30 or 10W-40. The first number followed by ‘W’ refers to the oil’s viscosity rating at winter temperatures, while the second number indicates its thickness at higher temperatures. For instance, an oil labeled 5W-30 means it performs well in winter conditions and maintains optimal flow at elevated temperatures. Selecting the right viscosity ensures that your engine is adequately lubricated under various operating temperatures.
Another aspect to consider is the type of oil—synthetic versus conventional. Synthetic oils are engineered to provide superior performance, especially under extreme temperatures and for high-performance engines. They often last longer between oil changes compared to conventional oils, making them a popular choice for many modern vehicles. Conversely, conventional oil may suffice for older cars or those used under regular conditions. Furthermore, driving habits and conditions should influence your oil choice. For example, frequent short trips, stop-and-go traffic, or extreme temperatures may necessitate a higher-quality oil to protect the engine better.
In summary, by consulting your owner’s manual, understanding viscosity ratings, and evaluating synthetic versus conventional oil, you can make an informed decision to ensure the best protection for your new car’s engine.
Preparing Your Car for the Oil Change
Before embarking on the oil change process for your new car, it is essential to prepare adequately to ensure both safety and efficiency. Begin by identifying a level surface on which to perform the procedure. A flat area minimizes the risk of the vehicle rolling and provides stability as you work underneath the car. Parking on a concrete surface, such as your garage or driveway, is preferable to avoid any potential mishaps.
Next, allow your engine to cool down before starting the oil change. An overheated engine can pose risks, such as burns and the potential for scorching hot oil when it is drained. It is advisable to wait at least 30 minutes after driving your vehicle to ensure that the components have cooled sufficiently. This precaution not only ensures your safety but also assists in a smoother oil change process.
Gathering all necessary tools and materials in one convenient area is another critical step in preparation. Essential items typically include an oil filter wrench, a drain pan, a funnel, a socket set or wrench for the oil pan plug, and, of course, the correct type and amount of new oil specified in your owner’s manual. Additionally, having safety equipment such as gloves and safety glasses is crucial. These items protect your hands and eyes from any accidental spills or splashes, contributing to a safer work environment during the oil change.
By taking these careful preparatory steps, you will pave the way for a successful oil change that not only enhances the longevity of your new car but also ensures a safe working environment. Proper organization and safety measures will make the entire process smoother and more efficient, allowing you to focus on the task at hand and enjoy the benefits of maintaining your vehicle without complications.
Draining the Old Oil
To begin the oil change process on your new car, the first essential step is draining the old oil. This task requires careful attention to safety and environmental considerations. First, ensure that the vehicle is parked on a level surface, and engage the parking brake to prevent any accidental movement.
Next, you will need to lift the car to access the oil drain plug, typically located on the oil pan beneath the vehicle. Using either hydraulic jacks or ramps, carefully elevate the car. If you opt for jacks, make sure they are placed at the designated lift points specified in your vehicle’s owner manual. Be sure to employ jack stands to secure the vehicle and prevent any potential accidents while you are working underneath.
Once the car is safely elevated, locate the oil drain plug. It is often easily identifiable; however, always refer to your owner’s manual for the exact location and appearance. Use a wrench or socket set to loosen and remove the drain plug. Be prepared for oil to begin flowing out as soon as the plug is loosened. It is advisable to position an appropriate receptacle, such as an oil drain pan, beneath the plug to catch the old oil without creating a mess.
Allow the oil to completely drain out, which may take several minutes. This ensures that you are removing as much of the old oil as possible, preventing any old oil from mixing with the new oil. After all the oil has drained, carefully replace the drain plug with a new washer if necessary, and tighten it securely using the wrench. Finally, ensure that your old oil is disposed of properly by taking it to a recycling center or an auto parts store that offers oil disposal services. Responsible disposal is crucial in minimizing environmental impact.
Replacing the Oil Filter
Replacing the oil filter is a critical step when performing an oil change on your new car. The oil filter plays a vital role in ensuring the longevity and performance of your engine by filtering impurities and contaminants from the engine oil. Neglecting to replace the oil filter alongside the oil can lead to diminished engine performance and may even cause potential damage. Therefore, it is essential to follow the correct procedure when replacing the oil filter.
To begin, locate the oil filter. This component is often found near the oil pan, but its precise location may vary depending on the make and model of your vehicle. A car manual can provide definitive clues about its positioning. Once you find the oil filter, use an oil filter wrench to loosen it. Carefully turn it counterclockwise until it disconnects from the engine. Keep in mind that some residual oil may spill out during this process, so have a drain pan ready to catch any leaking oil.
After removing the old oil filter, prepare your new filter for installation. Before affixing the new filter, it is advisable to apply a thin layer of clean oil on the rubber gasket of the new filter. This step ensures a proper seal and prevents leaks once the filter is installed. Position the new filter in place and hand-tighten it until securely mounted, taking care not to overtighten, which could damage the gasket.
In conclusion, properly changing the oil filter along with the oil is crucial for maintaining the health of your engine. Following these detailed steps ensures that your vehicle remains in optimal condition, providing reliable performance for years to come.
Adding New Oil
Once you have successfully drained the old oil from your new car, the next critical step is to add fresh oil to the engine. Before proceeding, it is essential to verify the engine’s oil capacity specified by the manufacturer, which can typically be found in the owner’s manual. Understanding the correct amount of oil required is vital to ensure optimal engine performance and prevent any potential damage.
To begin the oil addition process, it is advisable to utilize a funnel. This tool helps prevent spillage and allows for a more controlled and precise pouring action. Place the funnel in the oil filler cap opening before you start pouring the new oil. Carefully pour the recommended amount of oil into the engine; it is better to err on the side of caution and add the oil in small increments, allowing ample time to gauge the level accurately.
After adding oil, it is essential to check the level using the dipstick. Remove the dipstick, wipe it clean with a cloth, then reinsert it fully back into the tube. Repeat the process of removing it to examine the oil level accurately. The dipstick will have markings indicating the ideal oil level range; your reading should fall within this area for appropriate lubrication.
It is also crucial to allow time for the new oil to settle in the engine before starting it. A brief waiting period, typically around a few minutes, permits the oil to flow through the oil passages, ensuring that the engine components are covered and protected during startup. Following these steps when adding new oil will help maintain the performance and longevity of your new car’s engine, thereby enhancing your overall driving experience.
Cleaning Up and Proper Disposal
After completing an oil change on your new car, it is vital to clean up the workspace thoroughly to ensure safety and environmental responsibility. Start by gathering all tools used during the process, including wrenches, oil catch pans, and funnels. Clean these tools with a suitable degreaser to remove any residual oil residue. Rinse them off with water and dry them before storing to prevent rust formation and ensure they remain in good working condition for future maintenance tasks.
Next, focus on the workspace itself. Wipe down surfaces that may have come into contact with oil, using absorbent rags. Be careful to avoid cross-contamination by ensuring that these rags are not used for any other surfaces. Additionally, check for any spills or drips and address them promptly by using an absorbent material such as kitty litter or commercial oil-absorbent pads. Dispose of the collected waste materials properly, as leaving these on your driveway or garage floor may lead to environmental damage.
Proper disposal of used motor oil and oil filters is critical to protect the environment. Never dispose of used oil down the drain or in regular trash, as it can lead to soil and water contamination. Instead, pour the used oil into a sealable container, ensuring that it is not mixed with other fluids. Following this, take it to a designated recycling center, where it can be processed correctly. Many auto parts stores and service stations also offer recycling services for oil filters, so inquire about these options to ensure compliance with local regulations.
By taking the time to clean up after your oil change and dispose of materials responsibly, you contribute to a cleaner environment and maintain a tidy workspace for future automotive projects.
Maintaining a Regular Oil Change Schedule
Maintaining a consistent oil change schedule is essential for the longevity and performance of your vehicle. Regular oil changes not only ensure that the engine operates smoothly but also prevent the buildup of sludge and debris, which can lead to costly repairs. Several factors influence how frequently oil changes should be performed, including driving habits and the age of the vehicle.
Your driving habits play a significant role in determining the frequency of oil changes. For instance, if you frequently drive short distances, your engine may not reach the optimal operating temperature. This can cause condensation and fuel residues to build up in the oil, necessitating more frequent changes. Conversely, long highway drives typically allow the engine to reach its full operating temperature, leading to a longer interval between oil changes. Other habits, such as aggressive driving, idling for extended periods, or towing heavy loads, may also require more regular oil changes to maintain engine health.
The age and condition of your vehicle are additional factors to consider. Older cars may experience more engine wear and require oil changes at shorter intervals compared to new vehicles, which might have performance-enhancing engine technologies. Furthermore, it is essential to follow the manufacturer’s guidelines as outlined in the owner’s manual, as these recommendations are specifically tailored to your vehicle’s design and engine requirements.
To effectively manage your vehicle’s maintenance, consider creating a maintenance log. This log should include dates of oil changes, the type of oil used, and any additional services performed. Keeping track of these records will help you stay organized and informed about your vehicle’s needs. Additionally, setting reminders on your phone or utilizing a digital maintenance app can ensure that you never miss an oil change, prolonging the life of your engine and optimizing your vehicle’s performance.